root is the most powerful user in Linux and UNIX systems, from which OS X is derived. The root user can read, write and delete every file on the system and – when placed in the wrong hands – destroy the entire system in a flash. Even power users on a Mac have very little reason to use root – which is why it’s disabled by default.
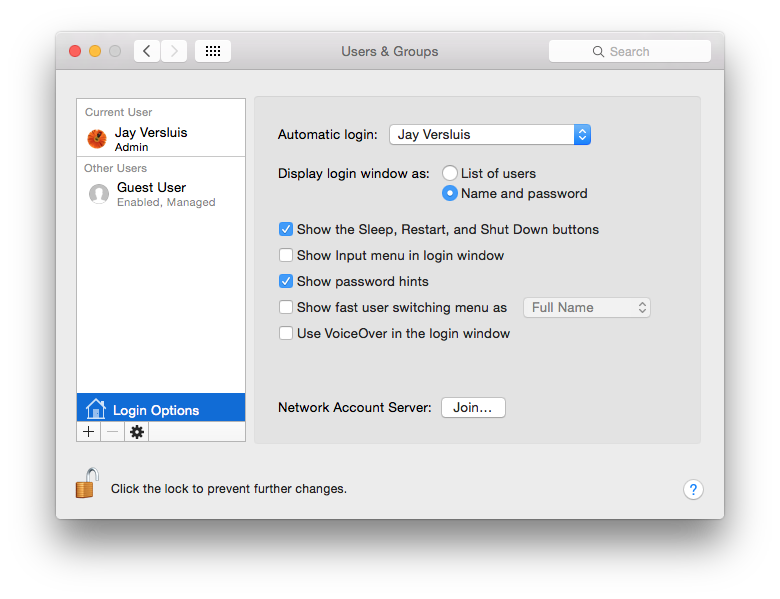
To enable it, head over to System Preferences – Users and Groups and select Login Options at the bottom left. If any of the following options are greyed out, simply click that little lock icon (and type in your computer password):

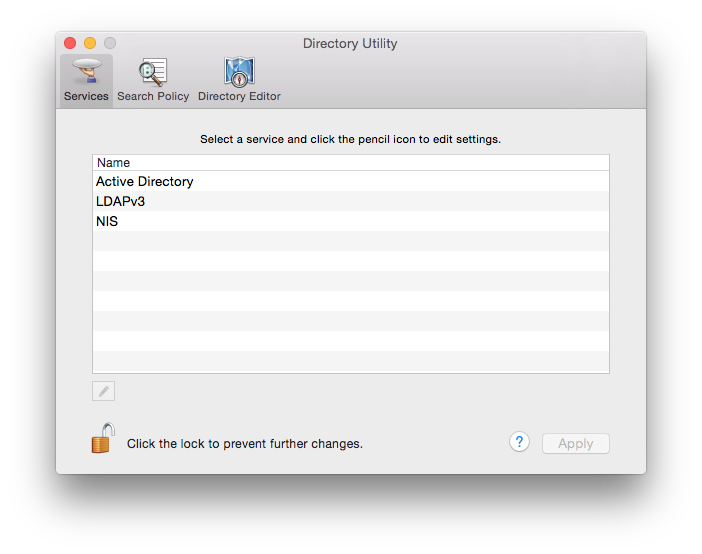
Now select Network Account Server – Join… and another scary window appears. Thankfully we won’t have to worry about what it says:

All we’re interested in is the standard menu bar at the top of the screen: select Edit – Enable Root User and hike it out of here. If ever you want to disable root, select Edit – Disable Root User (or change its password). Speaking of which, you’ll have to give the root user a password when prompted. Remember it.
Now click the little Apple Icon at the top left and log yourself out.
When your computer comes back you’ll be able to login as root, using the password you’ve specified. OS X will now start as if you’ve never setup your computer.
Remember to disable the root user again for your own safety when you no longer need it.
