
Extensions are to Plesk what Plugins are to WordPress. They allow developers to add functionality to the Plesk Panel via PHP, make CSS and JavaScript tweaks and allow a very fine grained amount of customisations.
Creating modifications in isolated files instead of hacking Plesk core files also assures that upgrades won’t overwrite any changes you’ve made (much like the Child Theme philosophy in WordPress).
Here’s a quick how-to guide on writing your first extension.
Uploading an existing Extension
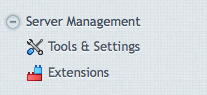
Extensions come into Plesk as a ZIP file which you upload under Server Management – Extensions (in the left hand sidebar):
You can get pre-built Extensions in three different ways:
- from within Plesk, click on “Products from Parallels Partners”
- from the Extensions Repository at http://ext.plesk.com
- or create your own
Let’s see how to do this next.
Creating an Extension
The structure for an Extension is a bit complex, but thankfully the extension tool provides a skeleton for us – much like the zf tool does in ZEND Framework.
The tool is located in /usr/local/psa/bin/extension
Here’s how to setup a basic skeleton:
extension --create myextension

The extension was successfully created.
The path to extension's entry points: /usr/local/psa/admin/htdocs/modules/myextension/
The path to PHP classes: /usr/local/psa/admin/plib/modules/myextension/
The path to installation scripts:  /usr/local/psa/admin/plib/modules/ext1/myextension/
The path to the directory with run-time data: /usr/local/psa/var/modules/myextension/
This will create the files and folder structure on the machine running Plesk, but will not activate the extension. To do this issue
extension --register myextension
Once registered your Extension will show up in Plesk:
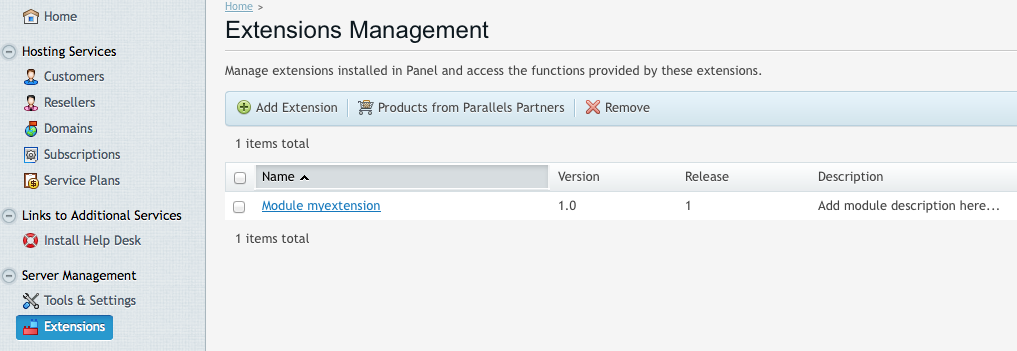
Note that you do not need to register extensions uploaded as ZIP files – they will automatically be activated.
To change the title and description of your Extension, edit your meta.xml file here:
- /usr/local/psa/admin/plib/modules/myextension/meta.xml
To change any of the settings and add some behaviour to your extension refer to the handy documentation guide:
Packaging an extension
To package your extension for installation in Plesk you can use the –pack option. This will create a handy ZIP file in the folder you’re currently in. Alternatively specify a path using the –destination option:
extension --pack myextension --destination /your/folder/here
Now you can distribute your file. Install it via the web interface under Extensions – Add Extension.
Example: Here’s a quick CSS tweak
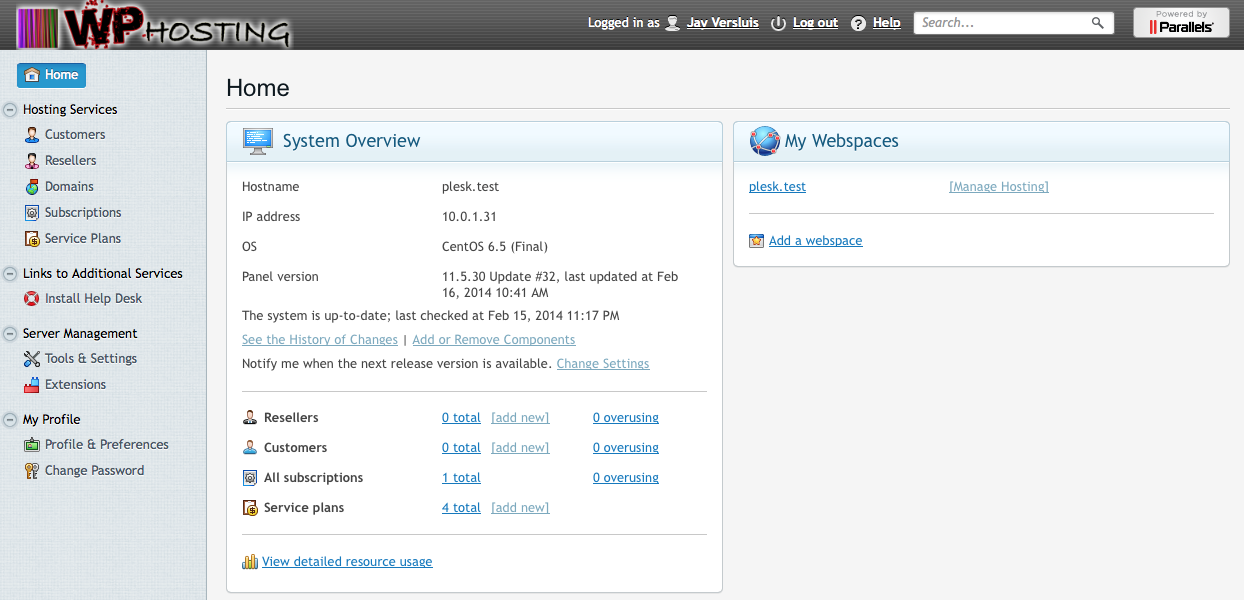
Just to show you how powerful extensions can be, let’s add some CSS to the default Plesk styling. I’m going to make the big notifications box disappear that we see on the Admin Home Page:
With a quick inspection we can see the CSS class applied to the entire blue box. To suppress its output we can do this:
@charset "UTF-8";
/* CSS Document */

.p-box.home-promo-block {
 display:none;
}
To add our own “child style sheet” we need to create a file called global.css in this directory:
- /usr/local/psa/admin/htdocs/modules/myextension/
An index.php file should already be present here whose content will be displayed if a user clicks on your extension link (under Server Management – Extensions). With the additional CSS our big blue box is gone as long as our Extension stays active. The box comes back when our Extension is removed.
If you’d like to change the values of your Extension, such as title and description, edit the .xml file in /usr/local/psa/admin/plib/modules/myextension/meta.xml.
More Information and Live Demo
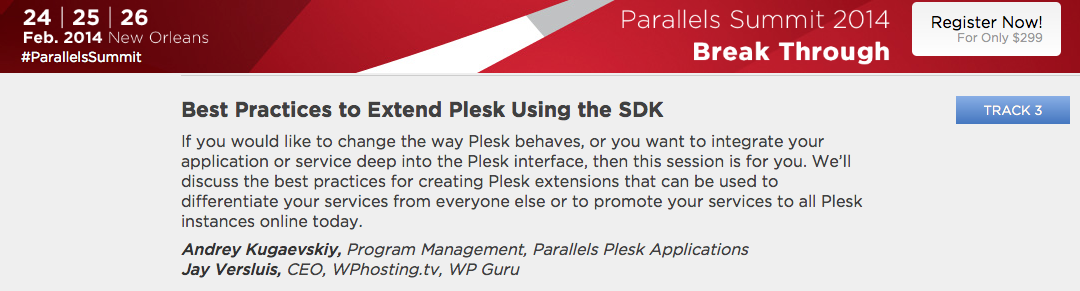
Andy Kugaevskiy and I will do a demonstration on the best practices of working with the SDK at Parallels Summit in New Orleans this year. We’ll show you in detail how extensions can work for you. Join us if you can!
In the meantime checkout the marvellous documentation the team have put together at http://ext.plesk.com. And please keep in mind that these are very new features that will be expanded over the next few months.
If you like you can download the extension here:
Also check out this great article by Alexei from the Plesk Developer Team. He’s explaining this in more detail and shows you how to connect and map folders in PHPStorm: