
I had a weird issue with my AirPods Pro (second generation) the other day: when I used to long-press either bud, it would switch from “noise cancelling” to “enhanced whatsit” mode. One day I was connected to Windows, and when I long-pressed my right bud it only played three low pitch sounds (like “dunk dunk dunk”) and didn’t do anything. What was going on? Was this a Windows issue?
I still don’t know how this happened, but I’ve managed to fix this – thanks to a built-in function on iOS devices that lets us choose what the long-press function is supposed to do. We can configure this on a per-bud basis, so we can setup the left bud to do something different than the right bud.
We need an iOS device connected to the AirPods for this, but the setting will be saved in the AirPods, so when disconnecting from said device it’ll remember what we’ve programmed in. Here’s how to do it:
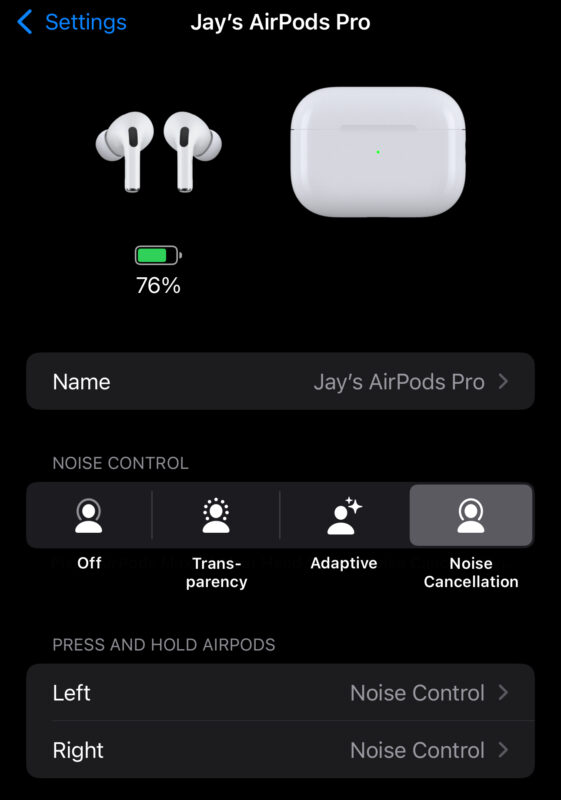
- on an iOS device, head over to Settings – AirPods
- find the option “press and hold”
- select it to pick what each bud should do
Now you’ll see a list of options the long-press should toggle between. In my case there was only one option enabled, hence the “donk donk donk” message. The default is set to these two, “Transparency” and “Noise Cancellation”. This means a long-press will switch between these options.
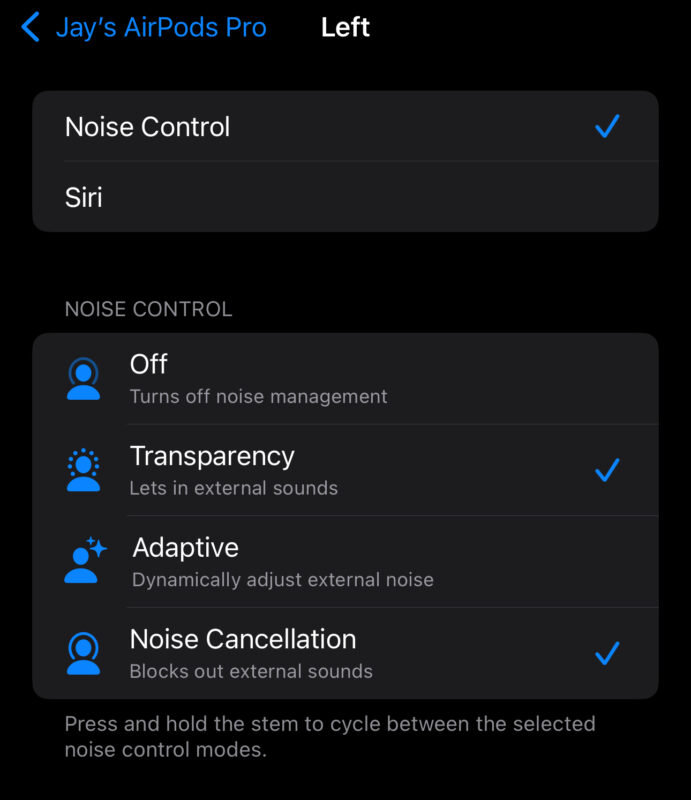
If you enable more, the long-press will cycle through all options. To familiarise yourself with the sounds it makes to announce each option, go back to the previous screen and switch between them.
Note that once the long-press options are set, these settings are stored in the AirPods, so when you connect them to a different device (including a Windows PC), they will remain intact.
Happy switching!