 I was researching auto login options for CentOS today. I thought those would come in handy when GNOME is used as a standard desktop, so that the computer starts straight into the desktop environment without the need to provide a password.
It’s also a handy feature to have if the machine lives in another room and needs GNOME to login to the wireless network when I issue a remote restart.
Turns out there are two parts to the puzzle: providing auto logins and removing a pesky Keyring Dialogue that appears to come up when those are enabled. Let’s tackle both of them here.
I’m using CentOS 6.6 with GNOME here. In principle this works in CentOS 7 too, but there’s a much easier way to accomplish the same thing. See my CentOS 7 article for details: https://wpguru.co.uk/2015/08/how-to-enable-automatic-user-logins-in-centos-7-and-gnome/
Enabling Auto Logins in CentOS 6
Head over to the trusty command line and edit /etc/gdm/custom.conf. The file already contains several sections, all of which are empty by default.
In the daemon section, add the following values (replacing youruser with your actual user name):
# GDM configuration storage

[daemon]
AutomaticLoginEnable = true
AutomaticLogin = youruser

[security]

[xdmcp]

[greeter]

[chooser]

[debug]
Thanks to Keith Wright on the CentOS Forum for this tip.
Now when you restart your system, youruser is automatically logged in when GNOME starts.
Disabling the Keyring Dialogue
However, you may experience a Keyring Dialogue which will ask for your root password every time after a restart. This isn’t much better than the login screen. This may or may not happen, depending on your current configuration:
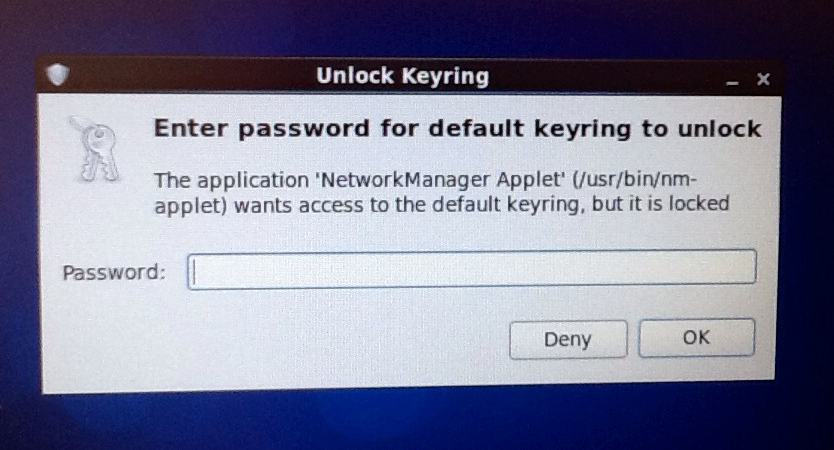
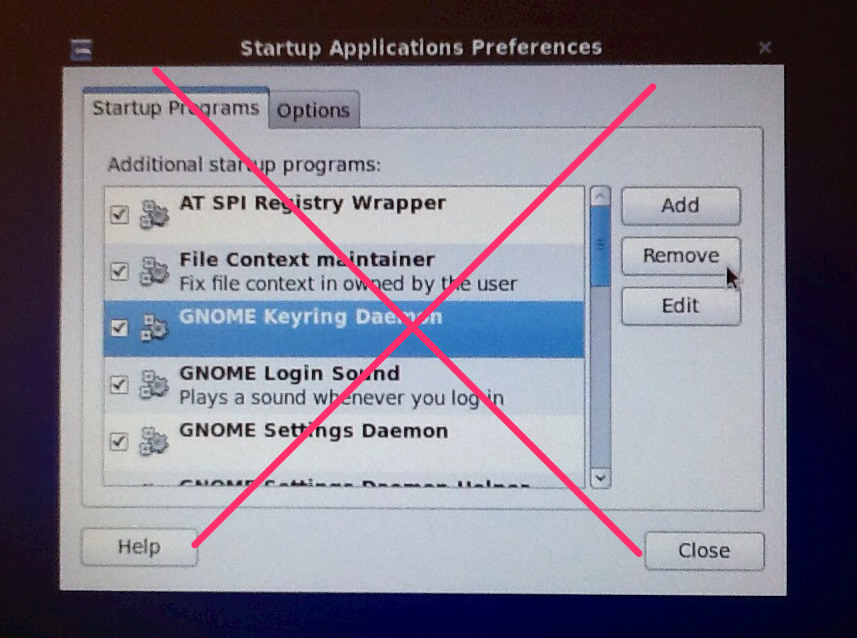
One article I found suggested to head over to System – Preferences – Startup Applications and simply remove the Keyring Daemon from the list. Turns out this doesn’t actually make a difference, so don’t do that (although it doesn’t seem to have an adverse effect either):
The real solution comes courtesy of Jim and iiSeymour: http://superuser.com/questions/43132/why-do-i-need-to-enter-a-password-for-the-default-keyring-to-unlock
All we have to do is
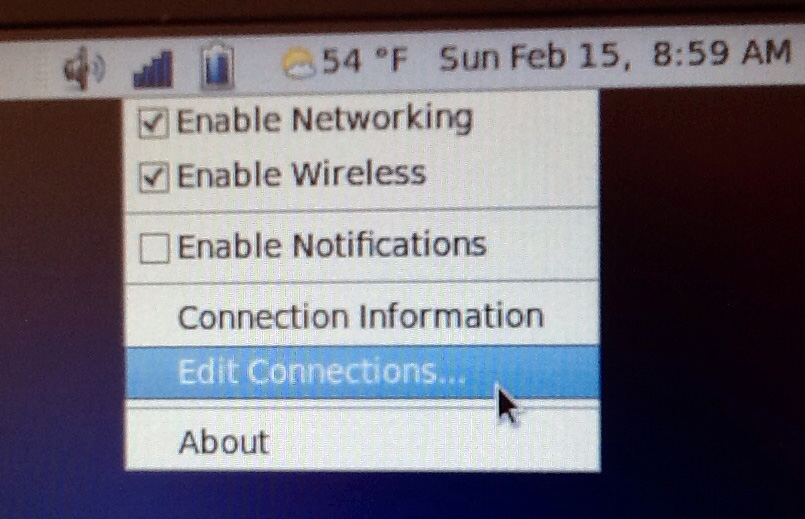
– head over to the Network Connections Icon at the top of the screen
– and right-click it
– select Edit Connections…
– pick your current wireless connection and select Edit
– provide the root password (only necessary this once)
– check the tick box Available to all users
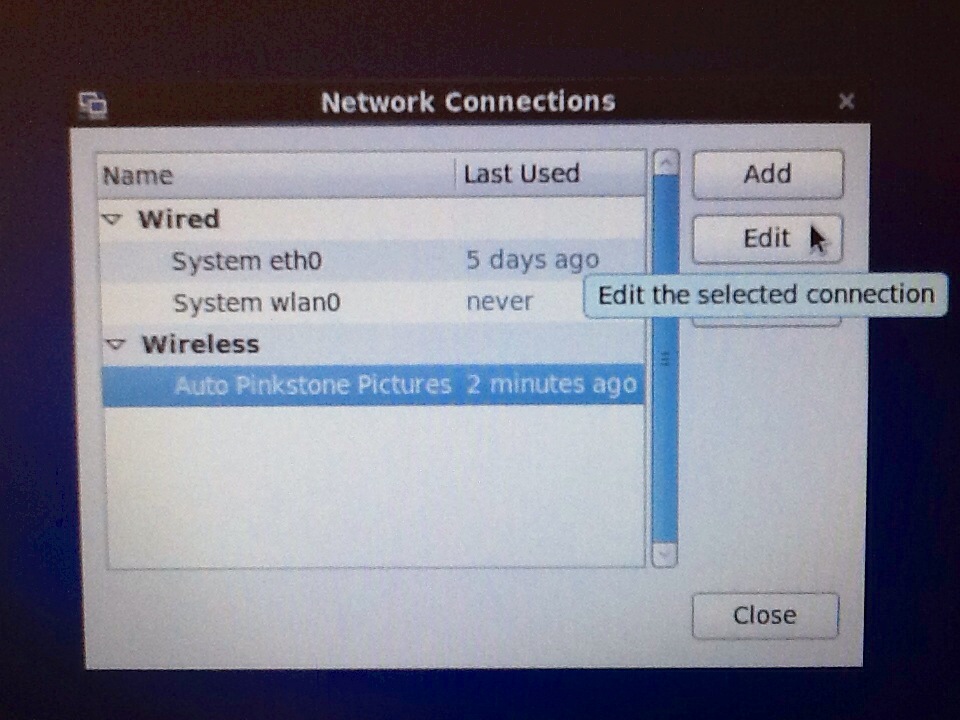
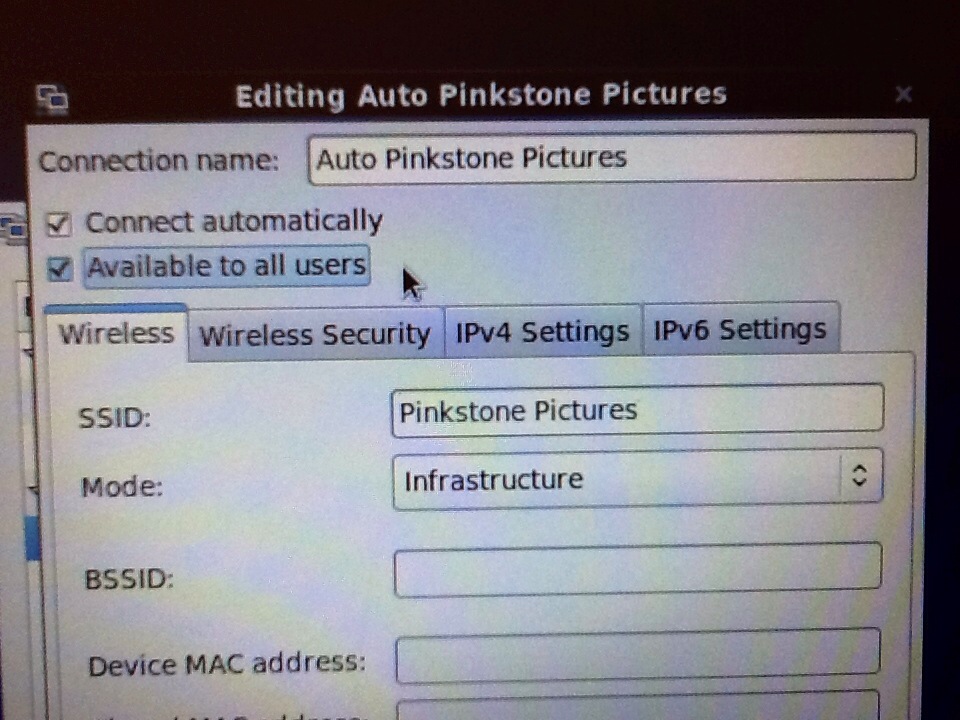
In CentOS 7, choose the little gear icon to bring up a window. You can find the available to all users tick box in the Identity section on the left hand side.
And that’s it! On subsequent logins, GNOME will now start with youruser already logged in and your wireless network connected.
Wait! My system boots into the Command Line interface, even though I have GNOME installed. What gives?
You can tell your system in which mode to start. To do this, edit your /etc/inittab file:
// change this line
id:3:initdefault:

// to
id:5:initdefault:
