
My MacBook Pro (2011) recently developed an issue after I had tried upgrading it to the latest version of High Sierra. Some security patch came along, and after bugging me for several weeks, I finally gave in and installed it.
Sadly, after macOS tried to restart I got a message like this:
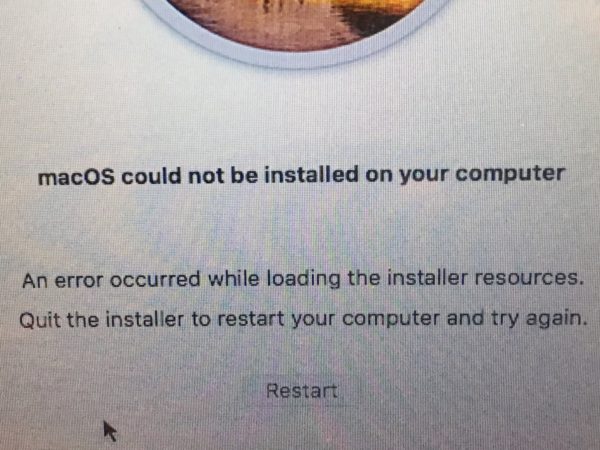
I tried restarting several times, but without luck. The message varies slightly at times, often accompanied by an error log and a more explicit message that something went wrong, but not with simple solutions on how to rectify the situation.
What worked for me to a certain extent was to start macOS with the ALT key held down, which would give me a selection of the boot drive. There are usually two drives: the “boot partition” and the “regular drive”. Clicking the latter will boot macOS without applying the update, and everything went fine again. Booting into the former would try to apply the updates, but since it failed every time, I either had to remove this behaviour or fix the underlying problem.
I looked into it and found these tips on how to proceed:
Boot with SHIFT (Safe Mode)
According to Apple’s Support Website, Safe mode can be initiated by holding down the SHIFT key while booting. This will take absolutely forever, during which time your Mac will do the following:
- Verifies your startup disk and attempts to repair directory issues, if needed
- Loads only required kernel extensions
- Prevents startup items and login items from opening automatically
- Disables user-installed fonts
- Deletes font caches, kernel cache, and other system cache files
On large drives, this does take a while. Mine is a 500GB SSD and it took my MacBook Pro several hours to do this. Sadly, without fixing the problem mentioned above.
Boot with CMD+R
Another nifty trick is to bring up the Disk Repair Tool. Start your Mac and hold down CMD+R until you see the Apple Logo. At that point you can let go of those keys. This will launch something called macOS Utilities. Note that your trackpad may behave slightly differently that you’re used to (for example, tap to click will be disabled), that’s just because none of your configuration preferences have been loaded. It’s all default, and booted from another portion of your hard drive.
Once everything has loaded, select Disk Utility. Run the First Aid option and see what happens. This will attempt to repair your disk by looking through every sector and fix any mishaps that may have been caused by files not closing properly. It will either tell you that everything is fine, or that it detected issues and how fixable they were.
Check Incompatible Login Items
Another item on the agenda to check is what login items are selected. Those are processes that start after your Mac has booted into macOS. Examples include cloud service sync services like Dropbox or Creative Cloud, or things like Discord and Spotify. I’m a big believer of starting those myself if and when I need them, but over-eager installers like to sneak them in there sometimes. Some of those items may not be compatible anymore after a software update and hence interfere with both the update and the new version of macOS.
To check what’s being started with your Mac, head over to System Preferences – Users & Groups – Current User – Login Items.
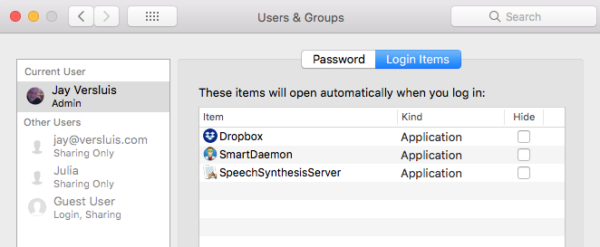
Click the little lock icon at the bottom left, then select what you dislike from the list and hit the minus button below the list. This will remove said login item and – hopefully – make your Mac start as it’s supposed to.
I’m still in the middle of my investigation and have a few more items to check, but I’ll report back with what worked well for me, and what else I find. Stay tuned 🙂
The foolproof non-timewasting way is to hold down command-option-r while booting.
This loads the most recent version of macos that’s compatible with your mac.
This will usually get you past those version upgrade blues.
Reformat the hard drive, do a clean install then restore from your time machine backup or reinstall your 3rd party apps from scratch and copy your data back manually.
You did have a time machine backup, right?
I have indeed 🙂 I was hoping to “quickly apply a patch” rather than reinstall macOS though. But if all else fails, I know what to do now. Thank you!