
![]() I bumped into Kristian Markroft from Simplyroot in New Orleans last week, and he told me about an interesting speed-up module for the Apache Webserver.
I bumped into Kristian Markroft from Simplyroot in New Orleans last week, and he told me about an interesting speed-up module for the Apache Webserver.
mod_pagespeed is an open source project which speeds up page loads without having to change the code of the actual page. mod_pagespeed does this by adding filters before pages are served. For example it will resize images and minify CSS/JS files, which can speed up page load considerably. The project is hosted on Google Code:
Let’s see how we can install it on CentOS, test to see if it works and how to manage it in Plesk.
Installing mod_pagespeed
The easiest way to install the module is by pulling the pre-built packages via yum from Google. For this we need to add a new source for yum to access. This source only contains the mod_pagespeed module, none of your other packages will be affected (even when you casually yum update your server).
Let’s add it by creating the following file:
vi /etc/yum.repos.d/google-mod-pagespeed.repo
Add the following code block to it:
[google-mod-pagespeed]
name=google-mod-pagespeed
baseurl=http://dl.google.com/linux/mod-pagespeed/rpm/stable/$basearch
enabled=1
gpgcheck=0
In case you’re not familiar with vi: hit a to enter edit mode, paste your code, hit escape followed by shift-Z-Z to save and exit.
Now we can install the module:
yum install mod-pagespeed

================================================================================
 Package              Arch     Version             Repository              Size
================================================================================
Installing:
 mod-pagespeed-beta   x86_64   1.7.30.3-3721       google-mod-pagespeed   5.0 M
Installing for dependencies:
 at                   x86_64   3.1.10-43.el6_2.1   base                    60 k

Transaction Summary
================================================================================
Install       2 Package(s)

Total download size: 5.0 M
Installed size: 13 M
Is this ok [y/N]: y
Downloading Packages:
(1/2): at-3.1.10-43.el6_2.1.x86_64.rpm                   |  60 kB     00:00
(2/2): mod-pagespeed-beta-1.7.30.3-3721.x86_64.rpm       | 5.0 MB     00:01
--------------------------------------------------------------------------------
Total                                           2.4 MB/s | 5.0 MB     00:02
Running rpm_check_debug
Running Transaction Test
Transaction Test Succeeded
Running Transaction
  Installing : at-3.1.10-43.el6_2.1.x86_64                                  1/2
  Installing : mod-pagespeed-beta-1.7.30.3-3721.x86_64                      2/2
Starting atd: [  OK  ]
job 1 at 2014-03-04 10:16
  Verifying  : at-3.1.10-43.el6_2.1.x86_64                                  1/2
  Verifying  : mod-pagespeed-beta-1.7.30.3-3721.x86_64                      2/2

Installed:
  mod-pagespeed-beta.x86_64 0:1.7.30.3-3721

Dependency Installed:
  at.x86_64 0:3.1.10-43.el6_2.1

Complete!
Nice. Now restart Apache for the changes to take effect:
service httpd restart
Thanks to Rahul Kumar for explaining this procedure here: http://tecadmin.net/installing-mod_pagespeed-module-apache/
Verify that mod_pagewrite is working
The easiest way to do this is not from a web browser but from the command line. We’ll load a website and inspect the header information:
curl -D- http://example.com | head -10

TP/1.1 200 OK
Server: nginx
Date: Tue, 04 Mar 2014 14:20:41 GMT
Content-Type: text/html; charset=UTF-8
Transfer-Encoding: chunked
Connection: keep-alive
Vary: Cookie,Accept-Encoding
X-Pingback: http://example.com/xmlrpc.php
X-Mod-Pagespeed: 1.7.30.3-3721
The last line tells us that mod_pagespeed was indeed involved and is working fine. Needless to say, please replace example.com with the website you’d like to test.
Managing mod_pagespeed
If yo’d like to turn the module off or on again, and you’re using Plesk, it’s as simple as (un-)ticking a box: head over to Tools and Settings (or Server if you’re using Power User View), click Apache Modules and find two new modules in the large list:
- pagespeed (ticked after installation)
- pagespeed_ap24
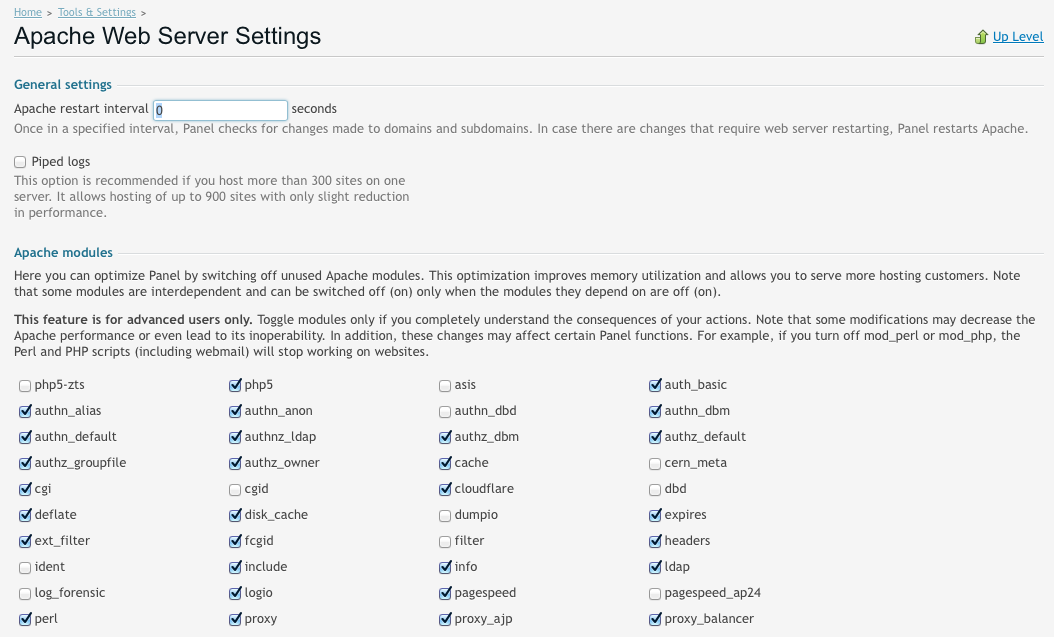
The latter is for Apache 2.4 which will only start if you actually have Apache 2.4 installed. If you’re running Apache 2.2 then the first module is for you and you’ll receive an error message should you try to start the other one.
If you are not using Plesk, or you prefer a more “bare bones command line” approach you can tweak the mod_pagespeed configuration file which lives in /etc/httpd/conf.d/pagespeed.conf:
vi /etc/httpd/conf.d/pagespeed.conf# Turn on mod_pagespeed. To completely disable mod_pagespeed, you # can set this to "off". ModPagespeed on ...
Simply change that line to ModPagespeed off, save the file and restart Apache.
Removing mod_pagespeed
To remove the module completely, erase the package and remove the extra yum source:
yum erase mod-pagespeed
rm /etc/yum.repos.d/google-mode-pagespeed.repo
It’s like it never happened 😉
A small caveat to using mod_pagespeed is that changes to your website’s CSS do not show up immediately due to internal caching. Therefore I don’t recommend it on development sites as it gets in the way of actual results.
Looks like there was a problem with how you copied and pasted the text into your file. The error is rather clear and suggests your file reads ‘ogle-mod-pagespeed’ instead of ‘google-mod-pagespeed’.
Try comparing the text visually line by line.
I did notice that, I even tried correcting it but got no where with it, it did not accept edits, I tried deleting the file and got the bellow results.
E325: ATTENTION
Found a swap file by the name “/etc/yum.repos.d/.google-mod-pagespeed.repo.swp”
owned by: root dated: Thu Jan 1 12:38:35 2015
file name: /etc/yum.repos.d/google-mod-pagespeed.repo
modified: YES
user name: root host name: mydomain.com
process ID: 3678
While opening file “/etc/yum.repos.d/google-mod-pagespeed.repo”
dated: Thu Jan 1 08:39:36 2015
(1) Another program may be editing the same file.
If this is the case, be careful not to end up with two
different instances of the same file when making changes.
Quit, or continue with caution.
(2) An edit session for this file crashed.
If this is the case, use “:recover” or “vim -r /etc/yum.repos.d/google-mod-p
agespeed.repo”
to recover the changes (see “:help recovery”).
If you did this already, delete the swap file “/etc/yum.repos.d/.google-mod-
pagespeed.repo.swp”
to avoid this message.
Thanks for the reply 😉
Remove the vi swap file like this:
Then edit the file again. Using vi isn’t exactly intuitive 😉
I got it working mate.. thanks…. I edited the file and noticed some spaces left before the lines started. Thanks big time for the tutorial and support. 😉
Sure thing, glad your got it working. And thanks for the Facebook like 😉