![]() By default, CentOS 7 comes with support for PHP 5.4. Sadly that version has reached the end of its life in 2015and is no longer updated by the developers. If we want to stay up to date with the latest software, we may want to upgrade (if our applications are working with newer versions of PHP).
By default, CentOS 7 comes with support for PHP 5.4. Sadly that version has reached the end of its life in 2015and is no longer updated by the developers. If we want to stay up to date with the latest software, we may want to upgrade (if our applications are working with newer versions of PHP).
For CentOS users this either means to compile cutting edge versions from source and tweaking lots of scary system configurations – or dipping into the power of Software Collections. These are official pre-compiled packages by the software vendor, designed to run newer versions of software alongside those that are provided by default.
At the time of writing, PHP 7.2 is available but it’s not part of the software collections yet, so we’ll use PHP 7.1 with FPM support under Apache (as it’s the recommended way to do so).
Let’s begin!
Enabling Software Collections
To make use of those repos we need, we’ll enable the Software Collections first. It’s as easy as installing a package with yum:
yum -y install centos-release-scl.noarch
Now we can check which versions of PHP are available – by the time you read this article, something much higher than 7.2 might be available, who knows. Try it and see what comes up!
yum list rh-php7*
Installing PHP 7 packages
We need several packages for our endeavour: the PHP 7 base packages, FPM support and of course the MySQL extension. If we want to run WordPress on our stack, make sure to also install the GD extension so that image resizing will work properly.
We can install all these packages with this:
yum -y install rh-php71 rh-php71-php rh-php71-php-fpm rh-php71-php-mysqlnd rh-php71-php-gd
Adding FPM Support to Apache
I’m assuming your current web server is already in place, but not configured for FPM. If it is, feel free to skip this step.
Take a peek at the Apache PHP configuration file in /etc/httpd/conf.d/php.conf. There’s a line here towards the top that tells Apache how to execute PHP. By default that’s application/x-httpd-php.
<FilesMatch \.php$>
 SetHandler application/x-httpd-php
</FilesMatch>
Let’s change it to this:
<FilesMatch \.php$>
# SetHandler application/x-httpd-php
 SetHandler "proxy:fcgi://127.0.0.1:9000"
</FilesMatch>
We’ve simply commented out the original so we can bring it back easy if we need to.
Starting PHP 7 and Restarting Apache
To see if it all works, we need to start/restart our services. If you currently have FPM support enabled, stop it to avoid conflicts.
systemctl stop php-fpm
systemctl start rh-php71-php-fpm
systemctl restart httpd
We might also want our configuration to be enabled at boot time:
systemctl enable rh-php71-php-fpm
To check if it’s all working, let’s take a look at the systemctl status:
systemctl status rh-php71-php-fpm

● rh-php71-php-fpm.service - The PHP FastCGI Process Manager
   Loaded: loaded (/usr/lib/systemd/system/rh-php71-php-fpm.service; enabled; vendor preset: disabled)
   Active: active (running) since Thu 2018-05-10 09:00:06 EDT; 1h 17min ago
 Main PID: 5114 (php-fpm)
   Status: "Processes active: 0, idle: 9, Requests: 2093, slow: 0, Traffic: 0.2req/sec"
   CGroup: /system.slice/rh-php71-php-fpm.service
           ├─5114 php-fpm: master process (/etc/opt/rh/rh-php71/php-fpm.conf)
           ├─5115 php-fpm: pool www
           ├─5116 php-fpm: pool www
           ├─5117 php-fpm: pool www
           ├─5118 php-fpm: pool www
           ├─5119 php-fpm: pool www
           ├─5121 php-fpm: pool www
           ├─5195 php-fpm: pool www
           ├─5278 php-fpm: pool www
           └─8338 php-fpm: pool www

May 10 09:00:06 server systemd[1]: Starting The PHP FastCGI Process Manager...
May 10 09:00:06 server systemd[1]: Started The PHP FastCGI Process Manager.
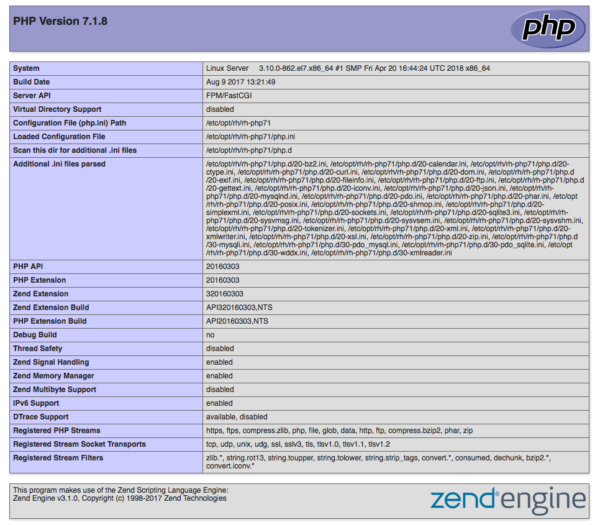
Another way to check is to bring up the phpinfo() page in your web browser. It should look something like this: