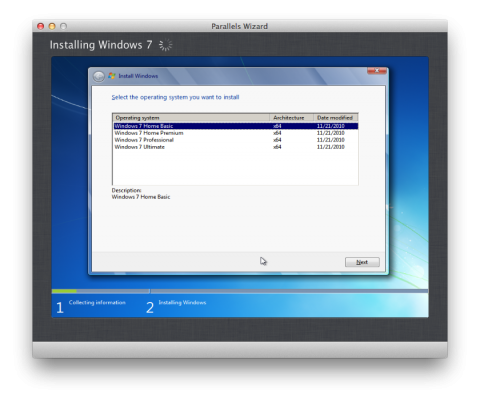
 Today I wanted to install Windows 7 using Parallels Desktop 7 on my Mac, but sadly I always got an error message every time I tried. It was saying it could not connect to my DVD drive – which clearly my Mac could.
Doing some research it turns out that several people had this problem, however I didn’t understand the instructions given by Parallels very well. Getting frustrated I decided to write my own, and give you some pointers where else to look for help.
For this scenario I’m using a DVD copy of Windows 7 Home Premium and the latest version of Parallels Desktop 7.0.15107. Parallels Desktop 8 is already out but I’ve decided not to upgrade at this point.
Steps to reproduce the problem
Basically following the standard workflow to install a new OS using the “wizard”:
- In Parallels Desktop we go to File – New,
- “Install Windows from a disk”, select your disk drive with the Windows disk inside it
- then I enter the serial number and choose “Like a Mac or PC”,
- give it a name and location,
- hit continue and the BIOS screen is trying to connect and fails.
Solution 1: The Disk Swap
As the KB article and forum post suggests, Parallels Desktop has a problem mounting the DVD drive. It needs to be unmounted, then re-mounted somewhere in the process. It wasn’t quite clear to me when exactly in the process this had to happen. Do the following, step by step:
- In Parallels Desktop we go to File – New,
- “Install Windows from a disk”, select your disk drive with the Windows disk inside it
- then I enter the serial number and choose “Like a Mac or PC”,
- give it a name and location,
- choose to “customize settings before installation”
- now eject your disk
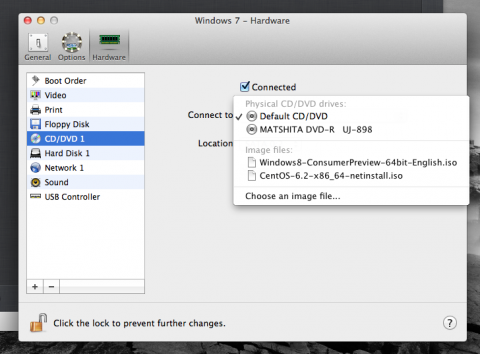
- in the window that opened under Hardware – CD/DVD1, select your drive from the drop down
- put your Windows disk back in the drive
- close the window and now quickly hit continue before your Mac has a chance to mount the drive
- in 1 out of 6 cases Windows may start to install
May I add that this is the most frustrating and unpredictable experiences I can think of in my life. The crucial thing is that the Mac mustn’t mount the Windows disk. Chances are that you’ll get an error message the likes of “There was no operating system on the disk”, in which case just hit Return and Windows will try again.

Solution 2: The Terminator
Simply uninstall, then re-install Parallels Desktop. Somehow this clears up the issue and you can use the wizard as you’d expect it. The only problem is that you can’t download the programme anymore, so if you don’t have your original files you’re out of luck. The good news is that all your existing virtual machines will still work after the re-install.
Solution 3: The ISO Tweak
Use your Mac’s Disk Utility to create an ISO image from your Windows installation disk. This will be a single file which you can choose in the wizard to install from. No more mounting problems, but it’ll take time.
Solution 4: The Throw-Away-Maybe
Give Parallels $50 for an upgrade to Parallels Desktop 8 and see if that works. No guarantees! I’d think since it’s a fresh install it’ll probably work just like Solution 2.
Solution 5: Folder Sharing
The KB article mentions something about Folder Sharing. Frankly I don’t understand what they mean or where in the long chain of events this needs to happen, or how this would aid in installing windows. I understand that the shared folder will be available once Windows is up and running, but until then it’s not much help.
Further Reading
- Snazzy Knowledge Base Article that I didn’t quite understand
- Forum Post discussing this issue


Thank you so much – this is an amazingly helpful article! Great work – Really clear and a much better job than Parallels code word instructions!
Thanks Tim, that’s great to hear!