
It’s been over 10 years since I’ve played with performance or redundancy RAID setups. The advent of SSDs made most of the computers I’ve owned rather fast enough for what I’m doing. I’m editing more and more videos these days, my projects are getting more complex, and as such I thought something even faster than a single SSD might be beneficial. Thankfully my Z800 workstation has RAID support out of the box, and I thought it’ll be a breeze to set this with.
Out came my two brand new Samsung Q870 drives, the BIOS sees them just fine, that rather complex AHCI RAID option has always been enabled too, and I was looking for a BIOS way to create the RAID. That’s what the official HP support article on this subject tells me. I’m supposed to wait for the CTRL + I prompt and follow the instructions.
That prompt never came, and any attempt I’ve made to press or hold CTRL + I during the boot process results in nothing but a clean boot into Windows 10. “Curious”, I thought. A thorough search reveals that I’m not alone with this issue: users make note of something called the Intel Rapid Storage Technology tool and hints of having to use it inside Windows to setup out RAID volumes. That didn’t work for me either, and all I saw was a list devoid of attached drives (except for my DVD writer).
The Solution to RAID on the Z800
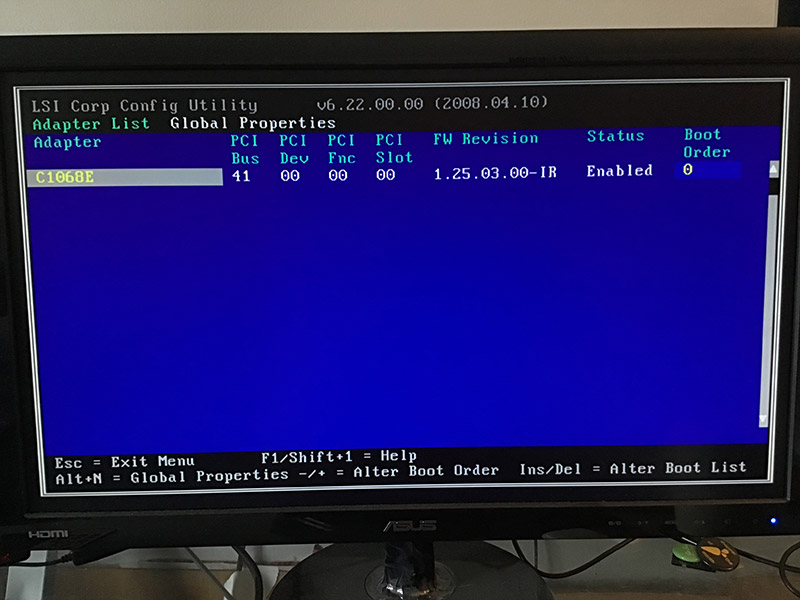
Turns out it’s a BOID thing after all, namely the spurious LSI utility that I had to use. I’ve seen its messages flashing by many times, but never took note of it. We’ll have to invoke the tool by pressing CTRL + C when prompted. This gave me a rather scary list of options like this:
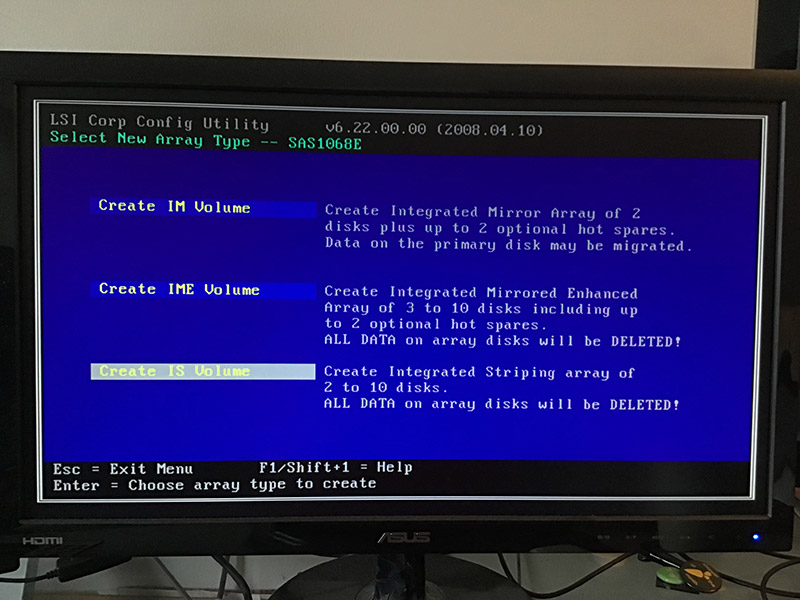
I selected my only available adapter and was presented with an option to setup RAID Properties in the next step. Since I wanted to create a RAID 0 (or “performance stripe”), I chose the last option called Create IS Volume.
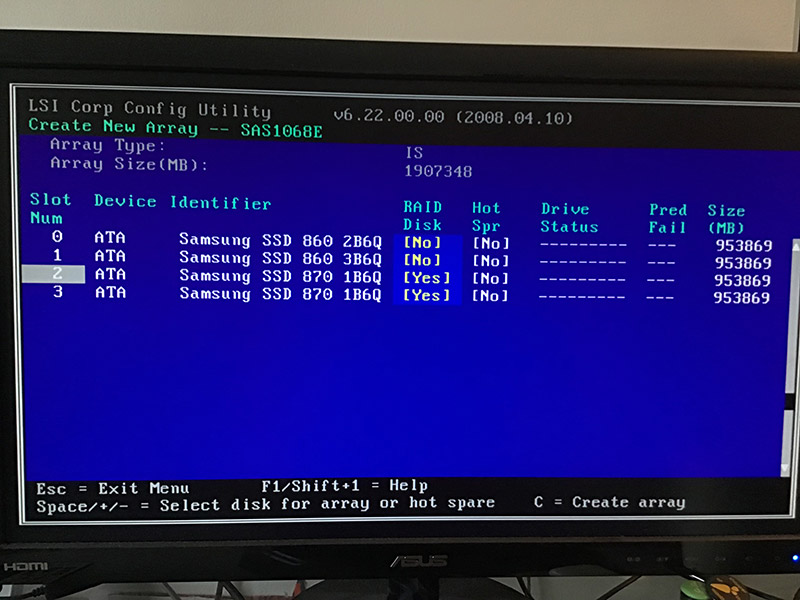
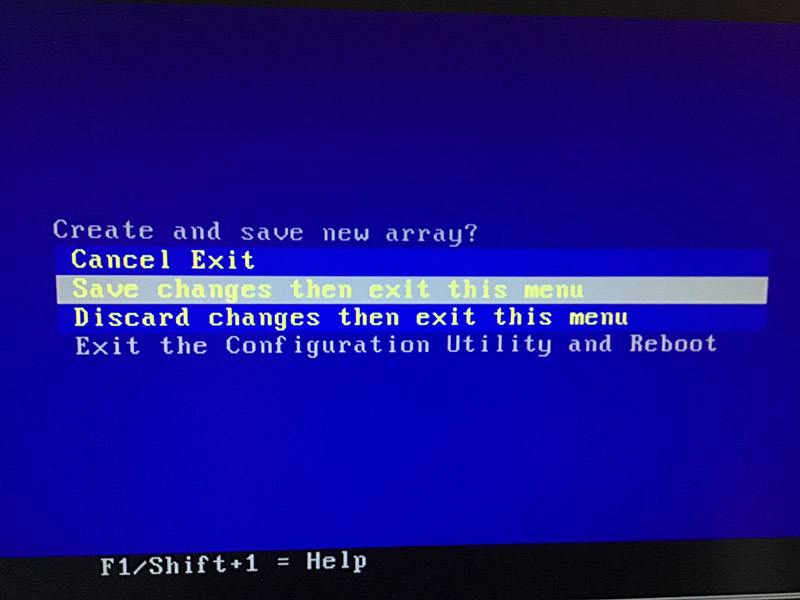
I chose both of my Q870 drives, leaving my other Q860 drives well alone. Adding drives to the array can be done by pressing SPACE while hovering over them. This will delete all data on these drives as you probably know. When you’re done, click C to create the array. Now quit the utility, choosing the reboot option.
Formatting the array
After a restart, Windows will now see your RAID setup as a single drive. Enter Disk Management and you’ll be greeted with a new disk that requires formatting before it can be used. Agree to it and format it as you see fit.
Now the RAID is ready to be used.