
I have been driven nuts on several occasions by the likes of Yahoo: change your password, and you have to tell every single device, sometimes several times. If everything fails, delete the email account completely and add it again afresh.
This presents a problem: your SENT or DRAFT items may no longer be where they after adding your email account again. There is of course a way to map those IMAP folder, but if you’re like me you hardly ever use this option and forget when it’s time to do it again.
So here’s how to do it – perhaps it helps before checking yourself into the local nut house.
What are IMAP Folders again?
Just a quick introduction before we proceed: with IMAP, all your mail stays on the mail server, “in the cloud” if you wish, so your mail looks the same on every device. No matter what you’ve sent, what you’ve read or responded to will be acknowledged as such on every device.
Each device syncs itself with the server upon connection. All devices present email in such folders like INBOX, TRASH, SENT or DRAFTS and several others. But different mail clients map those folders differently with different mail servers.
Hence to create the experience we want, we may have to tell our email client which IMAP folder to look at to present the expected items. For example, our IMAP server may call our sent items folder “SENT”, whereas out mail client may call it “Sent Items” – two different things indeed.
Most email clients will be able to map IMAP folders, but of course the procedure is different for each client. Here we’re specifically discussing Mac Mail as present in Mountain Lion and Mavericks.
How to add your email account
You may have been looking for this option inside the Mac Mail app – but Apple have centralised account handling into the System Preferences.
Close Mac Mail if it’s running, then click the little Apple icon in the top left corner of your screen and click System Preferences. You should find a blue icon with an @ sign which reads Accounts or Internet Accounts. Click that.
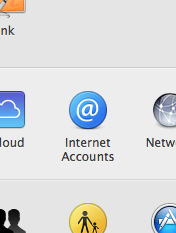
You’ll be presented with a list of existing services on the lest, and well known icons on the right – such as iCloud, Google, Yahoo, etc.
To add your new account, look at the list on the left and find that little PLUS icon in the bottom left corner.
You’ll also find a MINUS icon with which you can remove an existing email account if it’s causing you trouble, I recommend to then reboot your machine if you wish to add it again – just for safe measure.
Once your new account is in place (for which you’ll be promoted for your credentials), close System Preferences and open Mac Mail.
Let’s map some IMAP Folders
Just so we get our bearings, here’s a screenshot of Mac Mail and the components as I will call them:
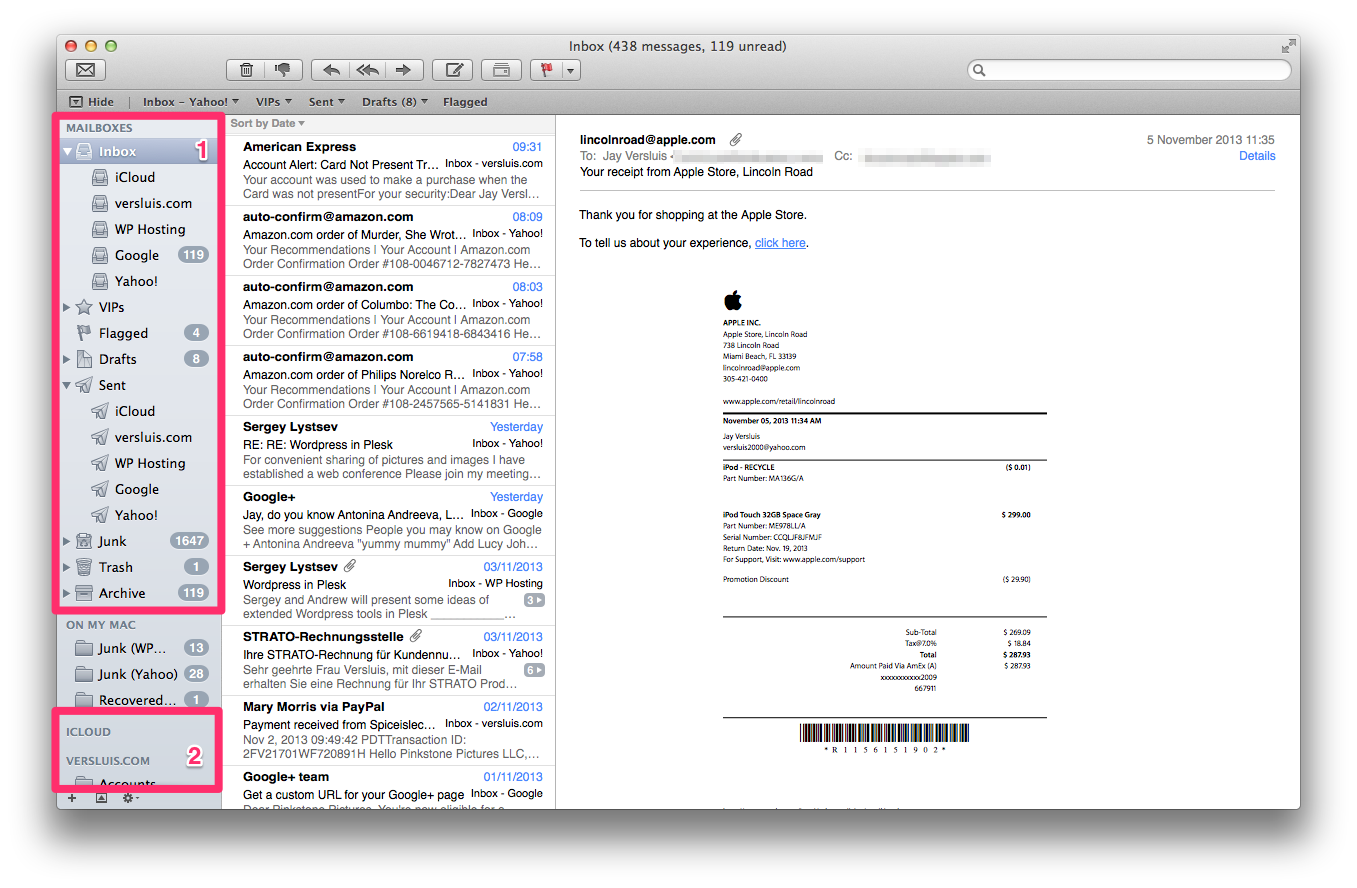
1.) Mac Mail Folders
These are what Mac Mail creates for you, and you can’t change those. I have several mail accounts, each of which have a folder under Inbox, Sent, etc.
2.) IMAP Folders
Each grey heading represents an actual IMAP account here. Under each account you’ll see the IMAP folders that are present on the server. Mine are at the bottom of the screen, so you may need to scroll that list up a bit on your system. You can also click a grey heading to collapse/expand those IMAP folders.
We can now map the IMAP folders under the screenshot’s Box 2 to be displayed anywhere in Box 1. And here’s how we do it.
On one of my mail accounts I have a server called “SENT” and one that’s called “Sent Messages”. In my example, Mac Mail has mapped the second folder (“Sent Messages”) to be displayed inside my Inbox.
If I want to change this, I first click on the IMAP folder in question (screenshot Box 2). With that folder selected (SENT in my case), head up to the main menu and find Mailbox – Use Mailbox for, and you’ll have a choice which Mac Mail folder it should appear in. In our example it’ll be “Use Mailbox for sent”.
Here’s the menu I’m talking about:
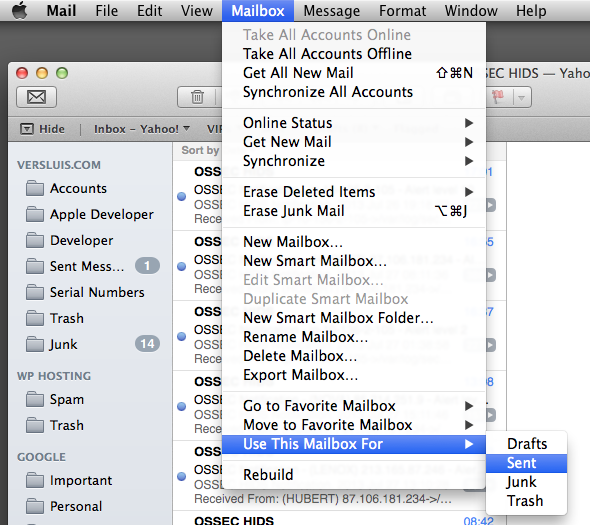
In other words, from now on when you send an email, it will be saved in the server’s IMAP folder called SENT. The same goes for Drafts, Trash and of course your Inbox.
Hope this helps you make sense of too many emails across too many accounts and too many devices!
Settings for Yahoo IMAP Mail:
Thank you for this article. It was hard to find an explanation on what IMAP folders are, but you’ve explained it very well.
Thank you – it was driving me mad on more than one occasion 😉