
![]() Ever since Lion, Mac OS X 10.7, there has been a great and very underrated feature built-in to every Mac: the ability to highlight some text and have macOS turn it into an audio file.
Ever since Lion, Mac OS X 10.7, there has been a great and very underrated feature built-in to every Mac: the ability to highlight some text and have macOS turn it into an audio file.
This is a wonderful way to listen to written text while you’re on the go, or if you want to skim through text you or others have written while you’re occupied with another activity, such as walking or driving. I love this feature!
I’ve seen the option in the context menu many times, but I’ve never dared to use it until today. Perhaps I held off for so long because the option reads “add to iTunes as Spoken Track” – and I’m just not a big fan of iTunes.
Turns out, this text-to-audio option bypasses iTunes altogether. It doesn’t open automatically and we won’t need it to transfer tracks to our iPhones either. What a relief!
Let me show you how to do it in this article.
Pick some text, any text
Whether it’s a website, a Word document or an email – if you can highlight a passage of text, macOS can turn it into audio. I’m not sure if there are any length limitations to it. Do let me know if there are.
All we have to do is highlight some text, then right-click on it and select “add to iTunes as Spoken Track”.

Now we get to pick a voice and a location as to where the file shall be saved. The voice at the top (Alex) is a soft-spoken American male voice, while Daniel is the British male voice used when Siri was first released on iOS in the UK.
He’s also known as Nigel Pembroke. Reports of his death are greatly exaggerated.
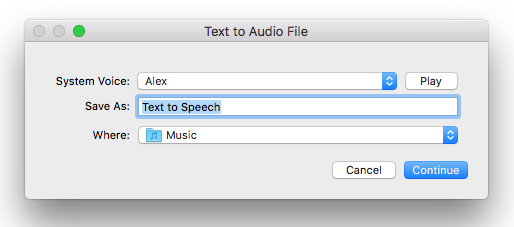
There are a great many voices in that list, most of which are for use with other languages. It is not indicated which ones are for which language, so most of them won’t sound great with English text. Press the Play button for a sample.
Choosing your “voice actor”
Here are the voices that work with English text:
- Alex and Tom are US males
- Daniel and Oliver are UK males
- Tom is an Australian male
- Emily, Kate and Serena are UK females
- Jill, Samantha and Vicky are US females
There are many more dialects and voices available for download. Take a look at System Preferences – Accessibility – Speech – System Voice, then select Customise.
Choose a Destination for the Audio File
When you’ve picked the voice of your dreams, it’s time to pick a destination for the resulting file, under the “where” option. You can keep the file name that’s suggested, and existing files will not be overwritten – they’ll simply be amended with a number.
macOS saves your files as M4A files that can be listened to on iOS and macOS devices. Premiere Pro, iMovie and Final Cut Pro also understand these files types, in case you need a dummy narration (note that you’re not allowed to use these voices for a professional project, according to Apple’s EULA).
Transcode Audio
As soon as you hit “continue” in the above dialogue, macOS goes to work transcoding your text into an audio file in the background. Watch out for that little gear icon spinning in the status bar. When it’s finished, you’ll hear a nice sound (unless you’ve disabled it).
Your resulting file should be at your chosen destination, in iTunes notation. In the example above, the full path to the “Music” folder is in /Users/you/Music/iTunes/iTunes Media/Unknown Artist/Unknown Album/Text to Speech.m4a
Bonus: transfer files to iOS without iTunes
 Although it’s perfectly possible to transfer the resulting files to iTunes, I never do that. I have iTunes. It always messes with my iOS devices, synchronising more than it should, or removing things I don’t want removed. So I stay away from it as much as I can.
So how else can we transfer files to our iOS devices?
There are several apps that let us do that. One idea is to use any f the popular cloud based storage services, like Dropbox.com or OneDrive by Microsoft. You’ll upload files into your cloud storage, and the corresponding iOS apps will let you play audio files right out of the box. That’s fine if you only want to listen to a single file, but what those apps lack is the ability to play several files as a playlist, something we’re accustomed to from the likes of Spotify.
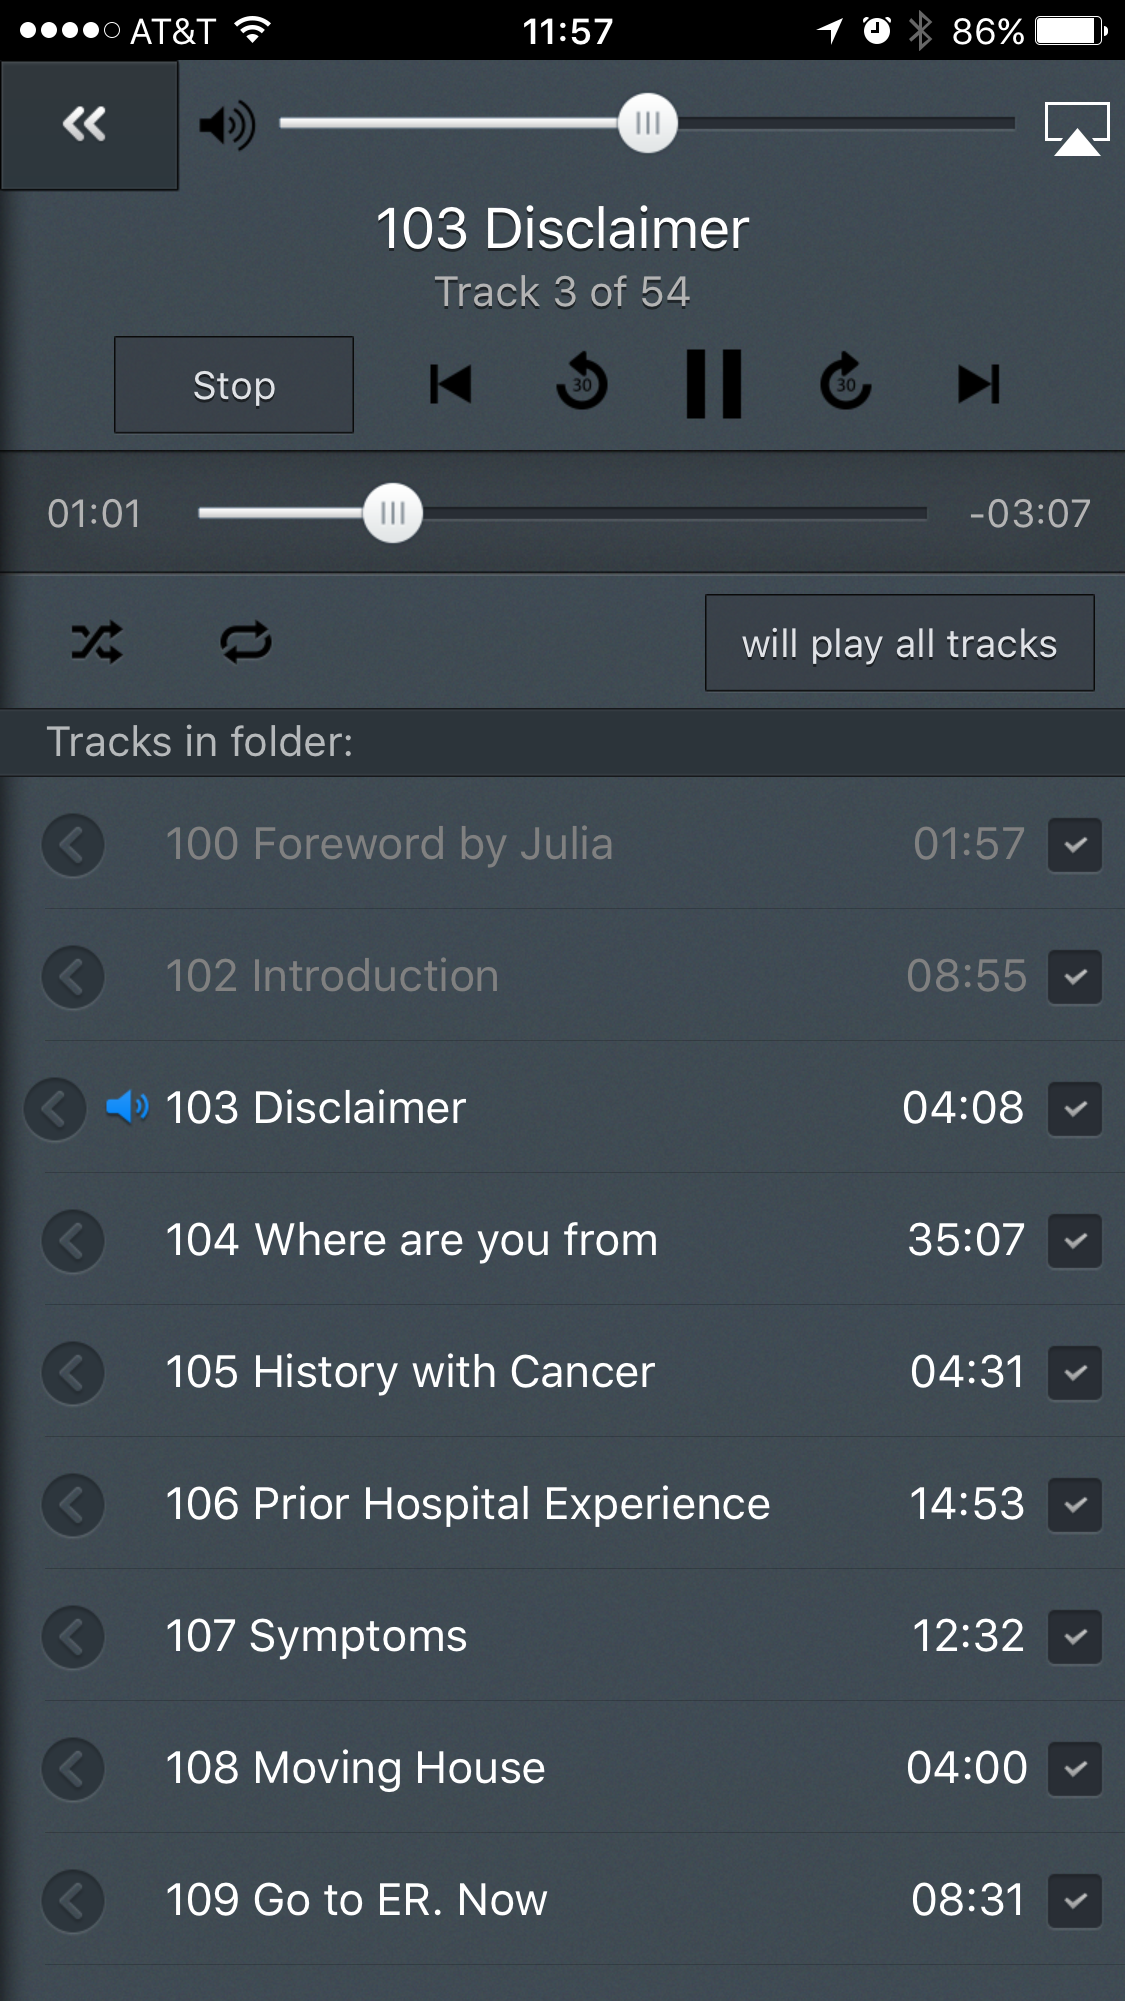
For such functionality I use GoodReader. It’s a swiss-army knife for all file related tasks on iOS, one of which is the ability to attach your iOS device as a server in Finder. This lets you drag across multiple files to your iPhone for playback as a playlist, one after the other.
It’s ideal when you have a long drive ahead of you and you want to listen to several audio files in sequence. Kick the first one off, and the others in a folder will play automatically. You can even use the remote on your headphones to start and stop the playback – how cool is that.
A detailed guide on how to start a web server for wireless file transfer in GoodReader can be found on the GoodReader website. Enjoy!
That’s it!
And that – in a nutshell – is how you can turn text into audio files on your Mac.
Happy listening 🙂
1 thought on “How to turn text into an audio file on macOS”